Map quilt of Providence, R.I.
For Christmas last year, I wanted to give Willem, my boyfriend at the time, something that was both meaningful and awesome. Something that was useful, something that celebrated us, and something I could make myself. So I sewed him a quilt that was a map of Providence, Rhode Island, the city where we met.
I began brainstorming in October. I was inspired by similar endeavors like Haptic Lab, but wasn't sure how to go about it. I'd only made four quilts in my life, and none with the detail I was imagining. I began by laying out a few criteria:
- First, I had to use Google Maps, since that's what he worked on every day. There have been other delightful artworks inspired by Google Maps (e.g., Christoph Niemann's excellent work for his New York Times blog)
- Second, the map had to be small enough that I could sew all the city blocks before dying first, but big enough that all of the important places could be mapped, like Brown University and India Point Park. I settled on the dimensions 54" x 60". I bought enough dark grey fabric (plain cotton) for this size, plus about 50% more for mistakes.
- Third, it had to be awesome. Not just any map. A glow-in-the-dark map.
But how to sew the map?

The plan: trace the map onto the fabric using my laptop as a vertical light table.
In Photoshop, I pieced together screenshots of Providence from Google Maps, editing the colors and upping the contrast to be more readable. I measured a grid of fifteen rectangles with a ratio of 2:3. It would be much easier to do this by sections, and after all, Google Maps is made of image tiles, too. I then copied out the fifteen individual sections and blew them up into 12"x18" image files, like this (rotated):
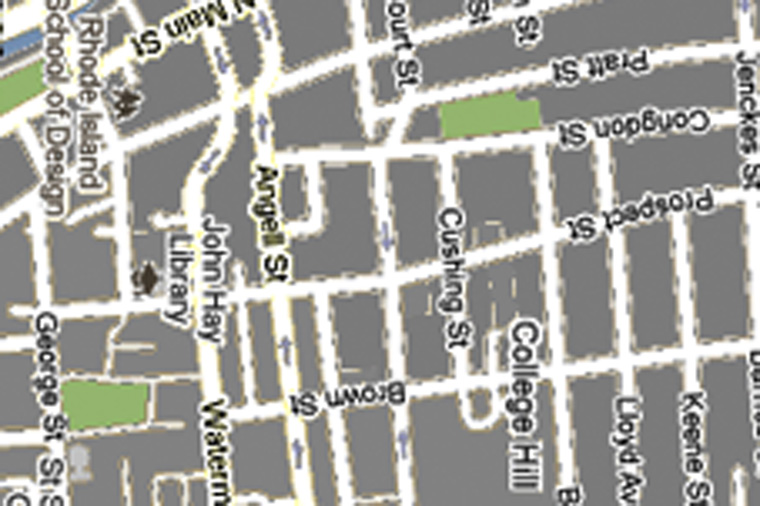
Each section was named A1, A2, B1, B2, C1, etc. so I could keep track of what went where. My MacBook Pro's screen resolution is around 110ppi, so I made sure to make the resolution of each image that as well.

I cut fifteen rectangles from the grey fabric, about 16"x22" (extra space for seams), and drew a 12"x18" rectangle in the middle with a white pencil. With the map image I wanted to trace on my laptop screen, I cranked up the screen brightness so I could see the map image through the fabric. I aligned the edges of the fabric rectangle with the section image on my screen, zoomed at 100% so it would measure 12"x18" in real life, and lightly traced the roads with the white pencil.
I threaded my sewing machine with glow-in-the-dark thread ($6/spool) and outlined each city block, following the white lines I'd drawn. Each fabric "tile" of the quilt was labeled A1, B2, etc. in the margins, and I also noted which direction was north to ensure accuracy.
I decided to only sew along the lines of city streets and the edges of the bay. I also outlined the capital building for kicks. Briefly, I considered putting Xs on important places or hand-embroidering the names of restaurants or sites, but I decided it would be better to go minimalist and leave the map blank to allow for the experience of figuring out together where certain places were.

It was faster to leave the blocks connected and just snip the threads afterward.
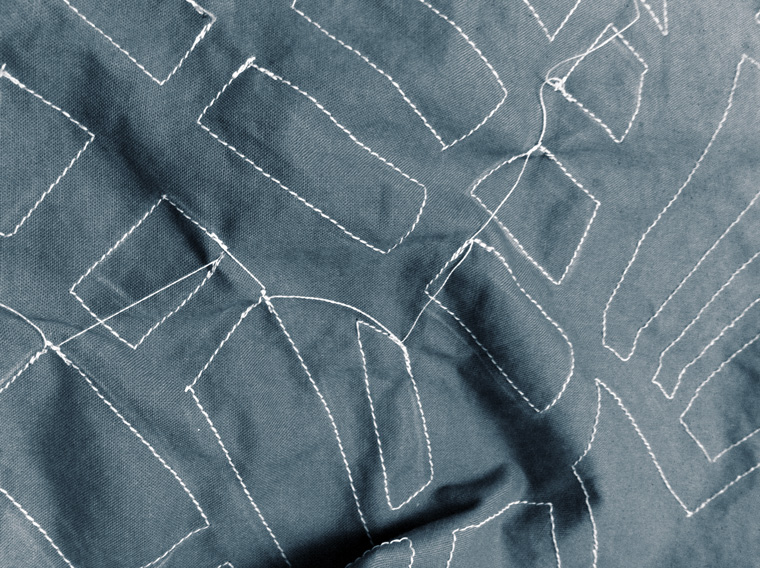
Here's where things got tricky. I had fifteen sections of the map to piece together, and even though I was pretty accurate with my map tracings, the skinny lines of thread that ran over the rectangle boundary on each fabric section would not match up perfectly at the seams between sections. I tried at first, but they were misaligned by up to half an inch when I sewed the tiles together — not a very good map at all. So I sewed all sides of blocks that were whole inside of the tile, and left any lines that went off the tile unsewn...
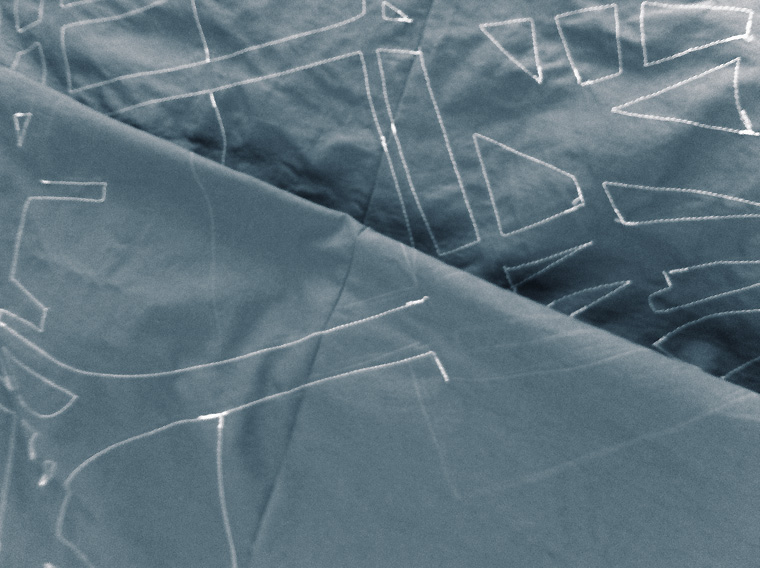
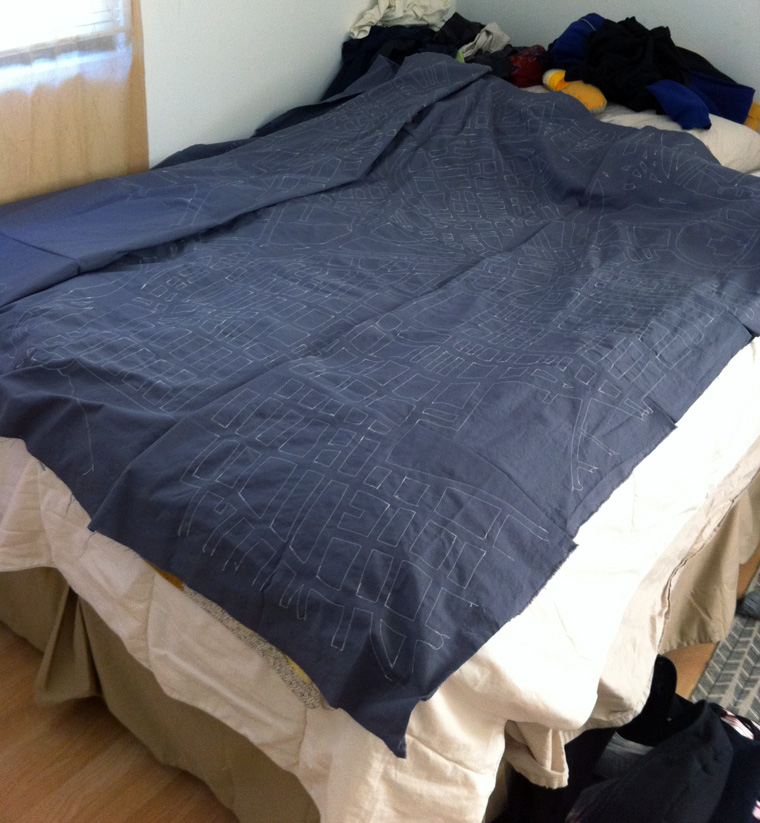
When I sewed the sections to each other, I also went over any unsewn lines and connected the blocks together across the seam. You can tell where I did this in the photos above and below, because I backed the thread up on itself a few times while sewing to secure it, leaving a thicker white line in some places.
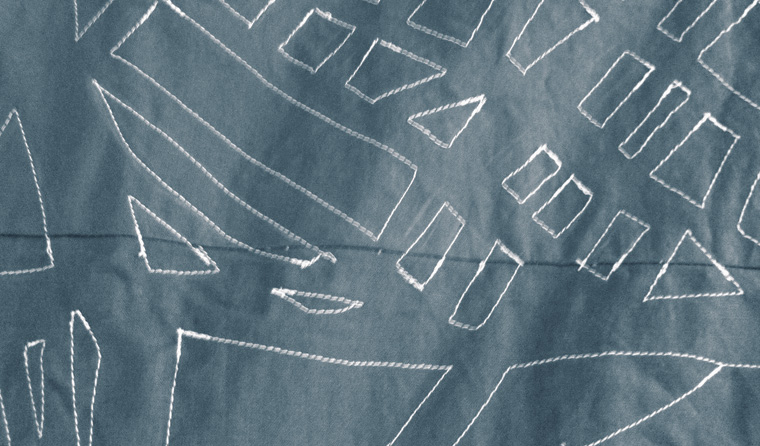
Finally, the pieces were starting to come together. I could see the map! Best of all, when I turned off all of the lights at night, the thread was glowing brightly in the darkness, just like the streetlights of Providence as seen from the sky.
The map, almost all sewn, plus bonus laundry:
It was getting closer to Christmas at this point. This quilt took rather a long time, and I worked in spurts. At home, I bought batting and a soft black fabric for the back of the quilt. I also used this fabric for a 5" frame around the map:
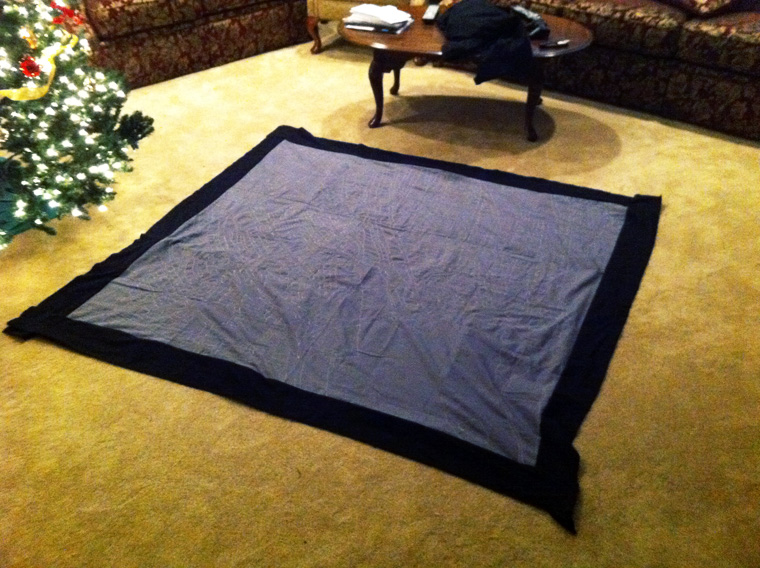
I loop-stitched swathes of batting together to the size I needed, since one roll wasn't big enough to cover the whole quilt. Then I cut the black fabric to size to be the back of the quilt. (I also wrote a secret message along the border on the underside of the map. For romance!)

Then I sewed the sandwich of fabrics together, leaving about an opening of about 10"...
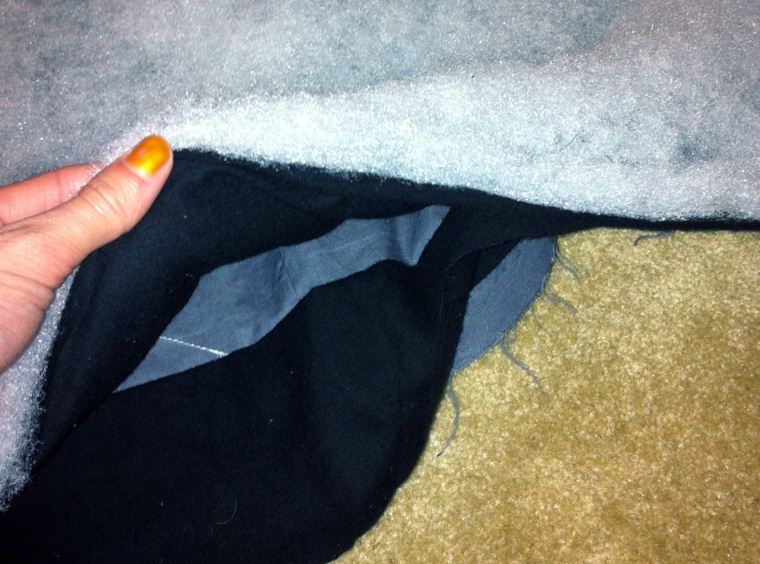
...cut the corners so they wouldn't be bulky...

...turned it right side out, rolled the edges of the opening together, and sewed the last few inches with black thread. Whew, finished! I gave it a few test runs — wrapping it around myself as I watched TV or read a book, stretching out on it with my dog and taking a nap, etc. Seemed to get the job done. It was lightweight but warm, and the raised lines of the city blocks had a great texture.
So I folded it up, wrapped it in tissue paper and bubble wrap, tucked in a card, and sealed it in a box with a warning not to open with scissors or knives. I didn't tell him what the map was of, since I knew he'd figure it out in a matter of seconds.
Photos of the finished quilt:
Interestingly, this map is already historical. I ended up sewing a new section of the I-195 as well as the old road it replaced, which was recently knocked down. Future cartophiles will be able to assign a date to this map based on this!
He called it his favorite present ever. I daresay he was pretty blown away. I was on the phone with him a few days later when he turned out his lights and yelled, "Wait. It GLOWS in the DARK?!" followed by amazed speechlessness.
I'm pretty pleased with how this came out. It took a long time to make and there were a lot of challenges, but it was fun to solve them. I'd call it a success!
I uploaded a small set of hi-res photos of the finished quilt on Flickr. If you have any questions, feel free to leave them in the comments, and I'll do my best to answer them.


